Panasonic KV-SS855D Instrukcja Użytkownika
Przeglądaj online lub pobierz Instrukcja Użytkownika dla Skanery Panasonic KV-SS855D. Panasonic KV-SS855D User Manual Instrukcja obsługi
- Strona / 48
- Spis treści
- ROZWIĄZYWANIE PROBLEMÓW
- BOOKMARKI
- Operating Instructions 1
- 2
- Table of Contents 2
- ________________________ 3
- ________ 3
- (For United Kingdom only) 4
- How to replace the fuse : 4
- For roller cleaning paper 5
- Caution for copying 5
- Precautions 6
- Operating Environment 7
- Component Identification 8
- О О О О О О 9
- ISetting the counter 10
- ¡Setting the imprinter 11
- I tor" is displayed 12
- Display Panel Instructions 14
- ISetting the scanner 15
- Setting the scanning side 16
- Setting other scanning 16
- Scanning condition settings 17
- ISetting the imprinter 18
- ¡Clearing the warnings 19
- To clear other warnings 20
- ISetting other parameters 21
- Setting the buzzer 22
- Setting the date 22
- Setting the time 23
- Checking the version 24
- Loading a Document 26
- IHow to use the patch sheet 29
- Clearing Paper Jams 30
- Cleaning the Unit 32
- Replacing the Roller Modules 37
- (2) for 39
- Repacking Instructions 41
- Specifications 42
- Troubleshooting 43
- 1 owBr core 47
- Printed in Japan 48
- PBQX50253ZA K1299S0 48
Podsumowanie treści
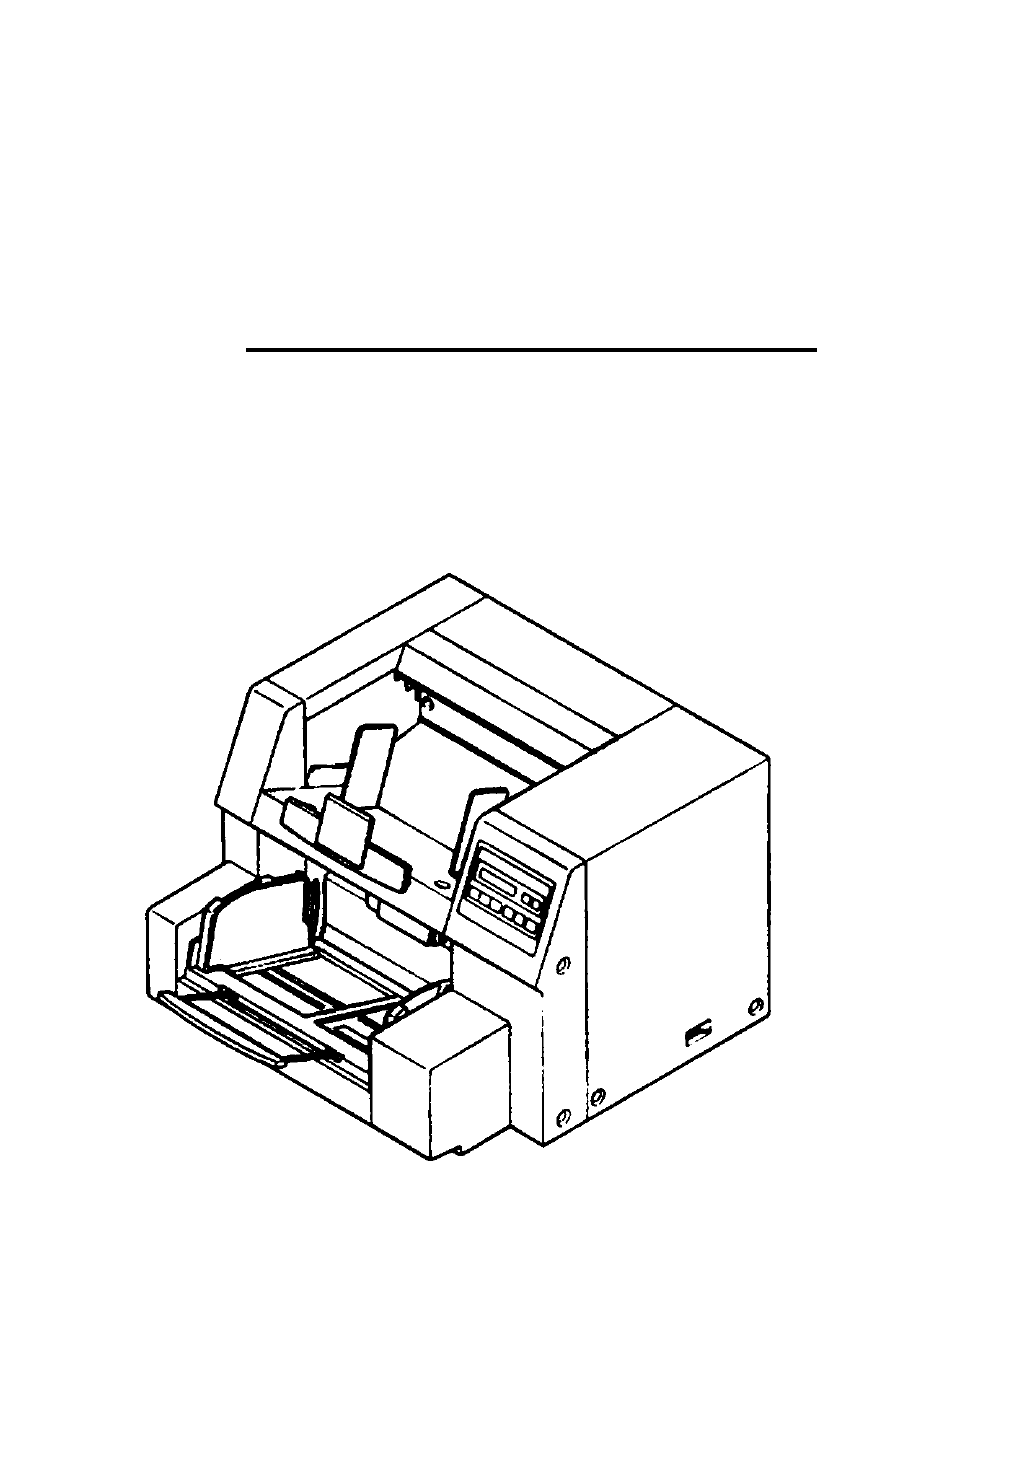
PanasonicHigh Speed ScannerOperating InstructionsModel No. KV-SS855D KV-SS855DUThese instructions contain the information on operating the scanner. Be
Display Panel InstructionsISetting the counterThe number of pages scanned can be displayed on the LCD in 4 different ways.1Press the counter key.• If
Display Panel Instructions¡Setting the imprinterDepending on the setting of "Setting the counter", page number of the scanned d
Display Panel Instructions2Press the enter key.• After entering the configuration mode, pressing the menu key repeatedly will change the LCD as f
Display Panel Instructions23Use the ▼ key or ▲ key to select "Enable" or "Disable".Press the enter key.• The return to the previo
Display Panel Instructions234Press the enter key.Press the enter key.Use the ▼ key or the ▲ key to change the user counter amount.• Pressing t
Display Panel InstructionsSetting the daily counter1234Press the menu key until "Daily Counter" is displayed.Press the enter key.D a i
Display Panel InstructionsSetting the scanning side1Press the menu key until "Set Scanner" is displayed.s e tS c a n n e r2Press the enter
Display Panel InstructionsScanning condition settingsMenuChange using the menu key.Setting contentsPressing the ▲ key changes to the next option
Display Panel InstructionsISetting the imprinterThe imprinter unit option is required.Sets the printing and printing position of page number of the sc
Display Panel Instructions2Use the ▼ key or the A key to select the desired print position.• The printout, by the display shown above, will p
Thank you for purchasing a Panasonic "High Speed Scanner".--------------Table of Contents-------------------PageNotice ...
Display Panel Instructions3Press the enter key.• To return to the previous setting (in step 2), press the esc key.The LCD will return to t
Display Panel InstructionsISetting other parametersThe following parameters can be set.Language: Sets the display language (English, Japanese).Buzzer
Display Panel InstructionsSetting the buzzer1Press the menu key until "Buzzer" is displayed.B uz zer0 N2Use the ▼ key or the ▲ key to selec
Display Panel Instructions6Press the enter key.• If you do not need to change the day, press the esc key.The LCD will change to the display show
Display Panel Instructions6Press the enter key.• When the hour is changed, the seconds are cleared to "0*.• To return to the previous setting
Loading a Document1Documents that have been stapled together or have been sitting together (as in a file folder) for some time will
Loading a Document4Place the documents on the document hopper with the side to be scanned facing up, then push them in the direction of
Loading a Document56Adjust the document guides to fit the size of the documents to be scanned.• Accurately adjust the document guides
OthersIScanning copying paper (such as carbon or carbonless paper)When scanning copying paper, select "1 page" by the hopper key. (See page
OthersIHow to use the patch sheetIf the patch sheet is used, the documents under the patch sheet are scanned in accordance with the
Notice________________________________^ Federal Communications Commission Requirements J(For United States only)Note: This equipment has been tes
Clearing Paper JamsTorn documents, thin documents or documents that are creased at the leading edge may cause paper jamming. If a
Clearing Paper JamsIf the paper cannot be removed by pulling it forwardOpen the back door by holding down the back door release, and r
Cleaning the UnitOutside of the unit;• At least once a month1Turn the power OFF.2Clean the cover with a soft cloth.3Remove dirt and dust from the fan
Cleaning the Unit3Remove the paper feed roller module and retard roller module. (See section "Replacing the Roller Modules" on page 3
Cleaning the Unit6Use the accessory roller cleaning paper to wipe off the dirt on the surfaces of the six rubber carrier rollers and t
Cleaning the Unit9After opening the back door by holding down the back door release, following the same procedure as in step 4, u
Cleaning the Unit3Clean the scanning section glass and white reference plate using the accessory roller cleaning paper.4Close the front d
Replacing the Roller ModulesIReplacing the paper feed roller moduleTurn the power off.12Use your fingers to hold down the front door release.• The fro
Replacing the Roller Modules4Draw the paper feed roller module toward you and remove it starting with its left side.5Open the optional "Roll
Replacing the Roller ModulesiReplacing the retard roller moduleThe retard roller module is located underneath the paper feed roller module.
NoticeFor your safety please read the following text carefully.(For United Kingdom only)This appliance is supplied with a moulded three pin mains plug
Replacing the Roller Modules5Take out the retard roller module in the optional "Roller Exchange Kit (KV-SS041)".For supplies and ac
Repacking InstructionsIt is highly recommended that you keep the original carton and ALL packing materials. Should you need to transport or ship y
SpecificationsItemModel No.KV-SS855D KV-SS855DUScanning face Duplex scanningScanning methodFront side : CCD image sensor Back side : CCD image sensorR
TroubleshootingIf a problem occurs while the unit is switch it OFF, and call service.being used, first check the following items. If the unit still ma
TroubleshootingLCDPossible Cause RemedyThe rollers have become dirty.Clean the rollers. (See page 32.)♦ ♦W a r n i ngHe4 *c1ea n R o 1 1 e rThe roller
TroubleshootingLCD Possible Cause Remedyu3 1 B a c k D o o rX X X X X XXXThe back door is open. Close the back door.u 32 T 0PD 0 o rX XXX XX X XThe im
IndexPagePageAC inlet ...ADF selector...8•8, 28Back door ...Back door release Bayer dither 16 Bayer dither 64 Binary ...
IndexPageOperating Environment*PP 42Paper feed cover ...39...QOraper leeo roller...
Panasonic Document Imaging CompanyDivision of Matsushita Electric Corporation of AmericaTwo Panasonic Way, Secaucus, New Jersey 07094Panasonic Canada
NoticeFor roller cleaning paperBefore using the roller cleaning paper, please read these instructions completely. Keep these instructions
PrecautionsThe following precautions are recommended to extend the life of the unit.Do not place any liquids near the unit.— Accidental spillage of
PrecautionsOperating EnvironmentDo not subject the unit the following conditions.Do not place the unit in direct sunlight or in a cold draf
Component Identification(Left)
Display Panel InstructionsBefore scanning the document, perform the required settings on the display. Setting information and scanner co
Powiązane produkty i podręczniki dla Skanery Panasonic KV-SS855D
 (20 strony)
© 2020, manymanuals.pl. Wszelkie prawa zastrzeżone. | 0.033 s |
 Manymanuals.com
 Manymanuals.de
 Manymanuals.fr
 Manymanuals.it
 Manymanuals.pl
 Manymanuals.cz
 Manymanuals.es
 Manymanuals-pt.com
Komentarze do niniejszej Instrukcji